Installing Echo
Obtaining Echo
Using the login credentials you generated during your initial inquiry, access the Tri-Line Gateway. After logging in, you'll be sent to your home page, where you can get your copy of the Echo downloaded.
Installing Echo
Once you have downloaded the Echo setup package, double-click on it and follow the setup wizard in order to complete the installation:
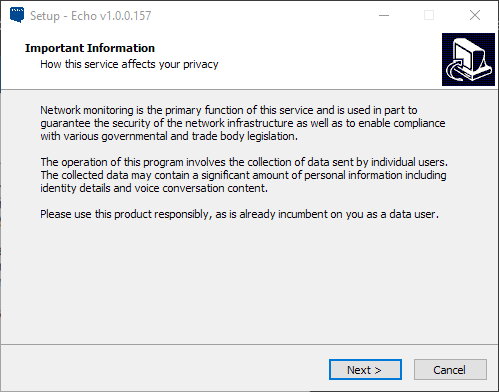
Read through the Important Information, once you have done this, press the Next > button to continue.
Read through the End User License Agreement, once you have done this, select I accept the agreement and press the Next > button to continue.

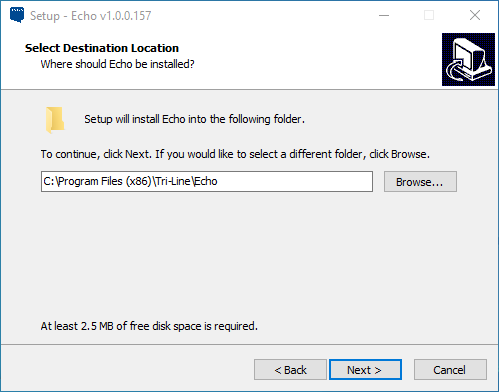
You can specify the location where you want your Echo to be installed; by default, it will be installed to C:\Program Files (x86)\Tri-Line\Echo. You can change this installation path by pressing the Browse... button and selecting a path. To confirm your path, select the endpoint and press the Ok button. Press the Next > button once you are happy with your install path.
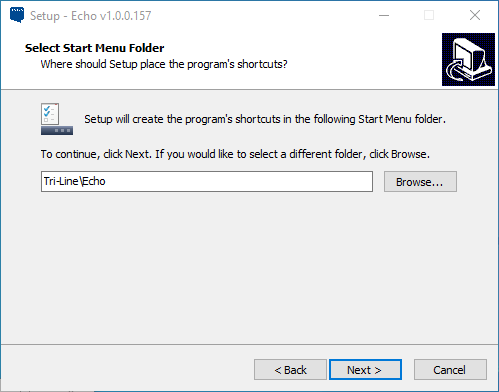
You can also specify the location of the Echo start menu entry; by default, it will be installed to Tri-Line\Echo. You can change this installation path by pressing the Browse... button and selecting a path. To confirm your path, select the endpoint and press the Ok button. Press the Next > button once you are happy with your install path.
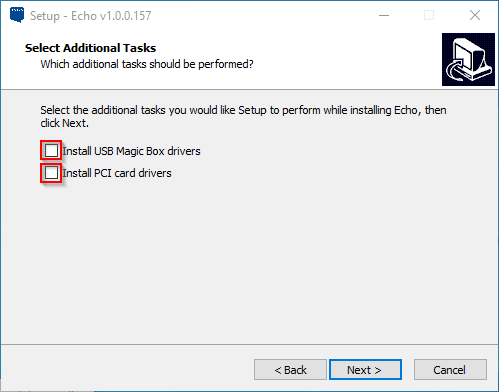
If you are monitoring ISDN channels, ensure the correct option is selected, according to your hardware device and then follow the on-screen instructions to complete the driver installation.
info
If you are using SIP lines, no option should be ticked.
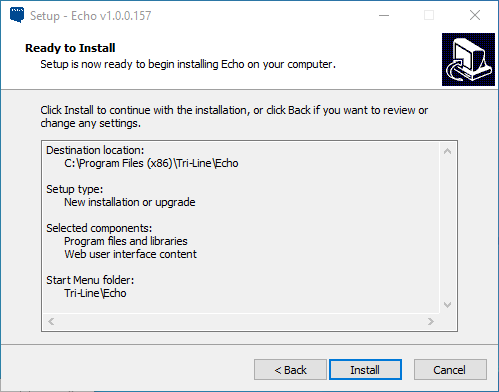
The setup is now ready to be installed in accordance with your selected settings. To continue with the installation, press the Install button. If you would like to make any changes to the installation setting you've already configured, press the < Back button.
Once the installation process has been completed, you will be bought to the configuration application for Echo. You can read our how to configure Echo here.